Project one
After viewing the documentary and getting some taste of the big word design, we were asked to pick a designed object from it and put it into the thinker's reality. Naoto Fukasawa pointed out human behaviours and our subconscious when asked to design a phone. Naoto noticed humans fidgeting and applied that theory to his phone, with purposeful blocky edges and cuts into smooth grooves. Naoto created a satisfying object in your pocket that serves its first functionality: a phone.
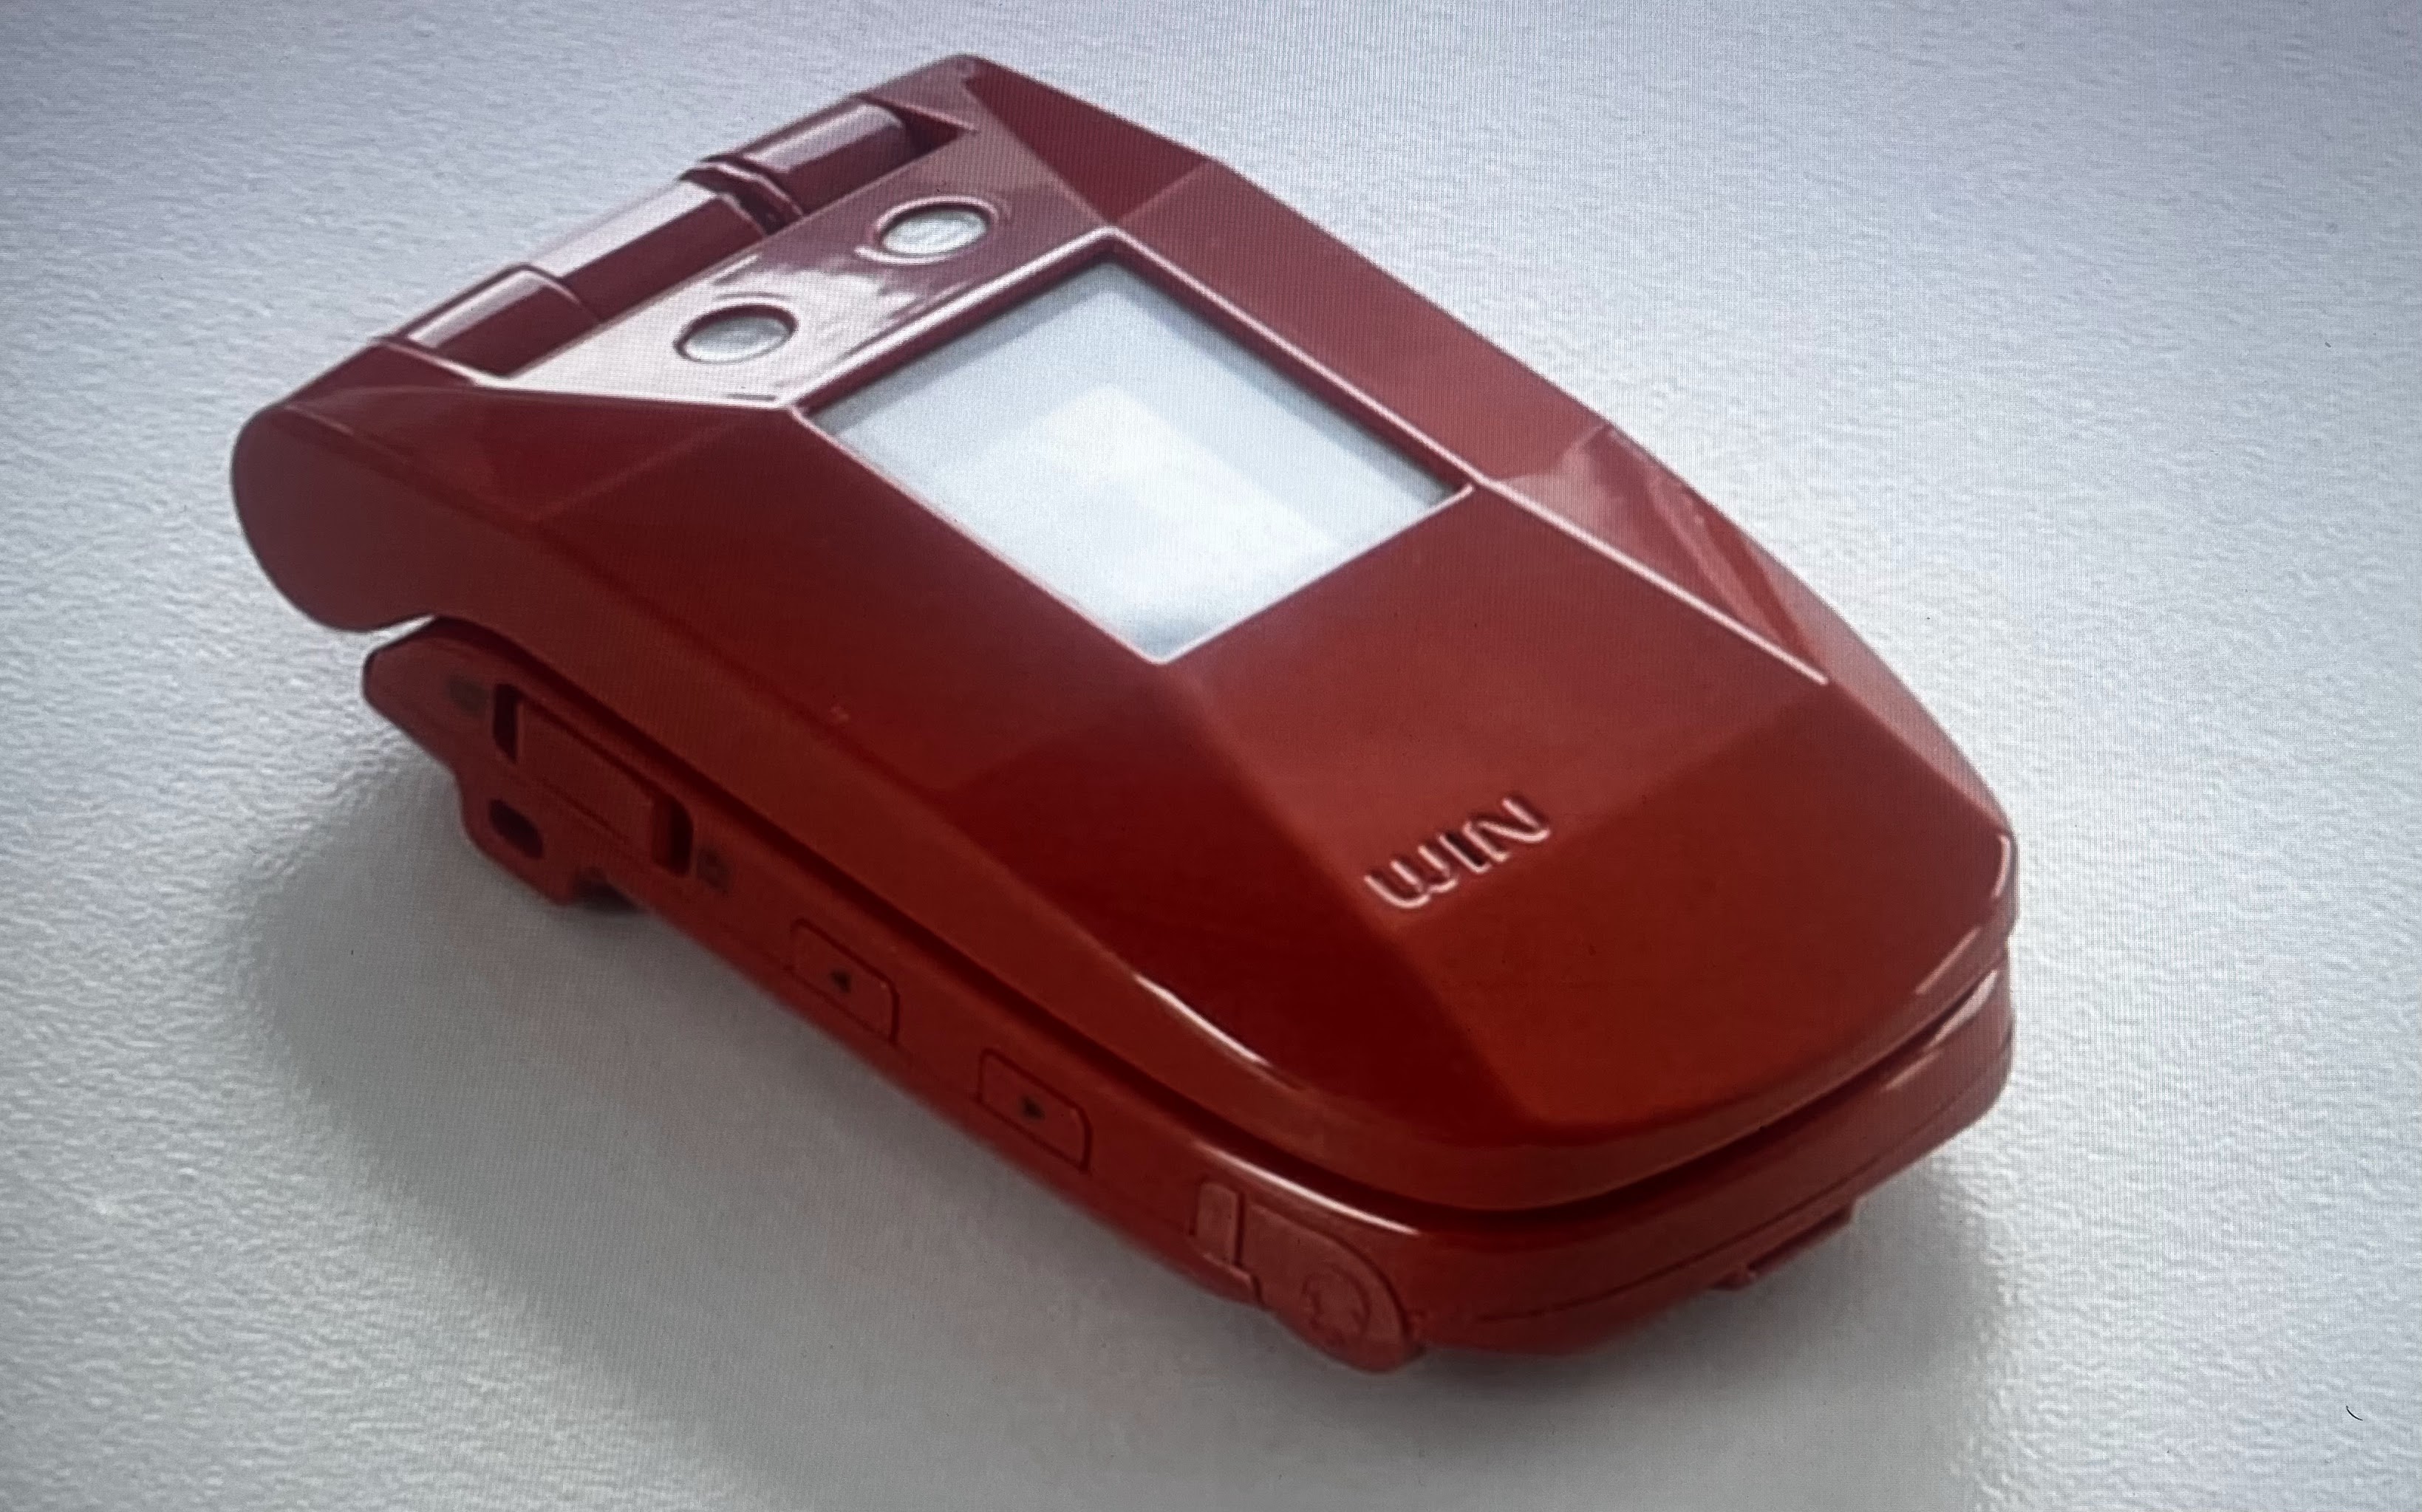
In today's day and age, phones are sleek, stainless steel and aluminum-looking metals; with this cherry red toy as a contrast, I was interested. I want to know if today
y's technology matches vintage tech designs to reimagine future tech.
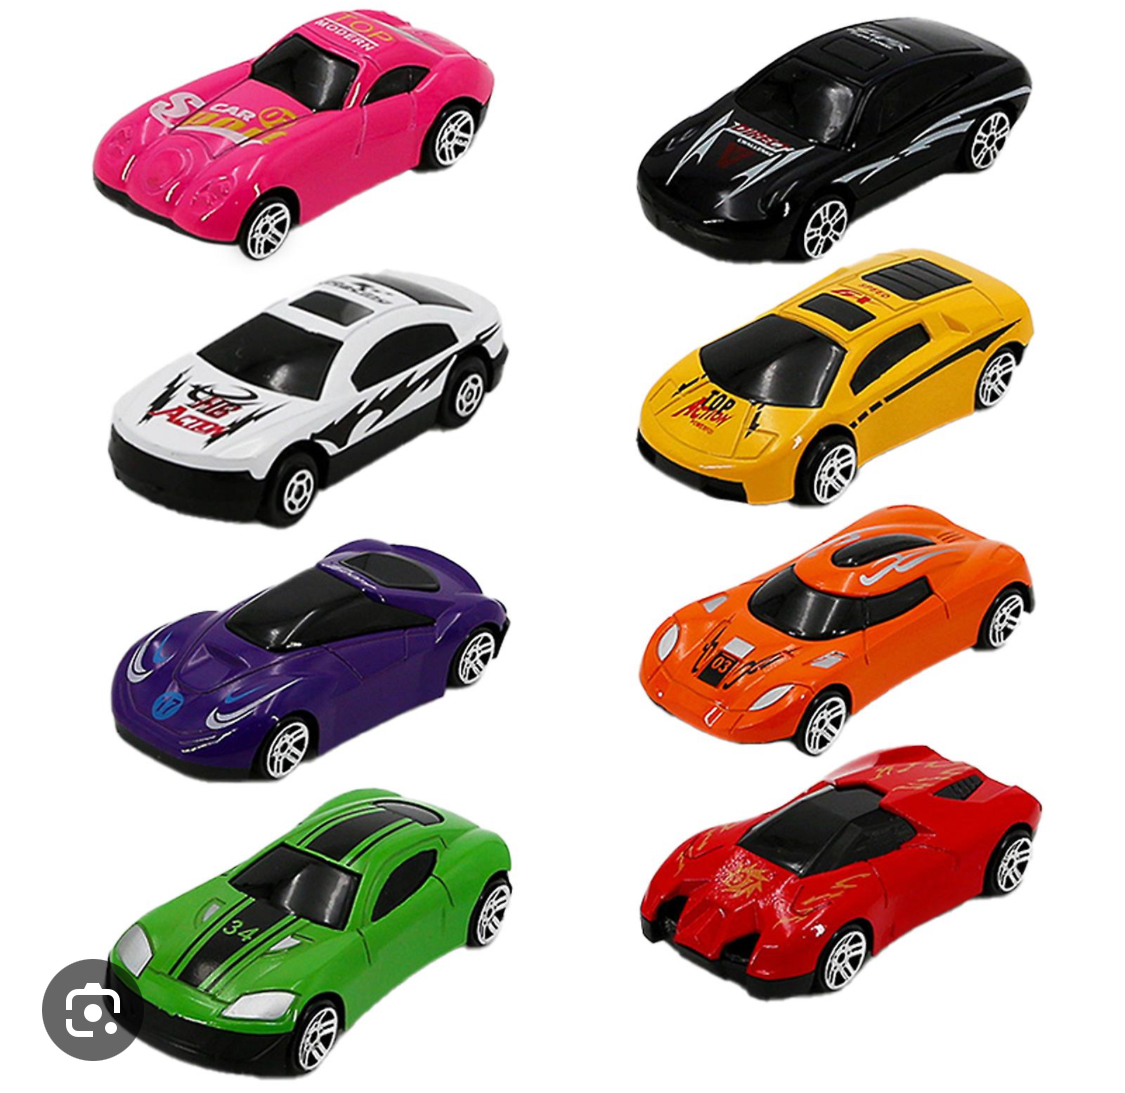
I began creating quick sketches and designs to prepare for this awkward shape design. I also took inspiration from car models and toy cars to grasp the sharp and smooth edges.
Final Product! The shaping was a good challenge and the dip in the screen adds a nice touch, getting the proportions was a struggle as the camera angle would fool me with where objects really were.
If I could go back again I would study more commands to cut down on the processing time and learn more techniques for symmetrical objects. Also chose baby blue as a contrast for my design.


Project Two ideations: We're tasked with opening our minds to rethinking the already thought out for this next task. While the world has created and designed many already working and perfectly functioning things, it's easy to think all the good ideas have been thought already. This practice helps to re-envision our creativity. Focusing on the ideation stage is the most important stage of any idea-making. It takes a lot of ideas to make a good idea. And in this practice, we have some fun.
Coffee Bath, By scaling up the size of the coffee and adding a pool ladder, a level of immersion has been created, and the lawn chairs help with the immersion.
Mouth TV, for my creature choice I went with a creepy mouth surrounding a television set, and with light poles for antennas creates a Frankenstein experience.
Glove Mouse Computer, this is the worst idea for a mouse, so I decided why not add two "boxing mouses" for a more immersive gaming experience.
Pylon Rocket, this idea was taking an already rocket shaped object and making it reality, the cones stacked on adds depth to the design.
Selfie Gun, this idea was more ironic and was uses dark humour, say cheese.
Toilet Speaker, your option to connect the splash in the bowl to the speaker or play your own jams for a solid sitting sesh.
Toy box, full of tools and weapons, a great combo for children, I figured the contrast of weapons and a childs toy box was a good joke.

Christmas Tree, taking the concept and warping into another mind trick, the present being a tree is a fun twist.
Cheese wheel, with all terrain grip, and cheese logo, this is now an image you'll imagine in real life.
prosthetic Catfish, more of a play on words than anything, figured joining two very different things creates a weird image, and it does!
Foot Ruler, another play on words, holding a foot to measure your daily items is a great way to make a non-challenging task challenging...
Links CreationsLinks Creations
Project Three, Rendering, learning how to take our projects chosen from the critiques last week and adding realistic materials and lighting to create a more intimate reaction from the viewer. Instead of seeing cartoonish-style tinkerkads, we're adding life to these images.
I combined plastics, wood, fabrics, metals, and liquids for the six photos capturing the objects. The concept is now more conceivable as the image influences natural life materials. I'm excited about how the objects turned out; I added more spotlighting in the last two pictures and used Fusion 360 to implement this design, as Rhino and mesh downloads weren't compatible with Mac.
I hope this looks convincing! My favorite render was the soft lighting on the plastic coffee cup.
project 4: paper craft research. After looking through a curated list of creative articles. Featuring different techniques and mediums for designed art, we picked an article that stood out.
I selected a few highlights that stood out to me as really satisfying works, creations that were fun to look at and regardless of how they looked I wanted to feel the physical paper materials.
Yulia's current jobs work with high-profile names, including Paramount. Her Art focuses on older folks, rejuvenating dignity and confidence in old age.
Yulia graduated from Hertfordshire in 2004 with a master's in graphic communications. After graduation, she accomplished prominent brand names like The United States Postal Service for a permanent stamp design. Moreover, Yulia's creations were quoted as "Breakthrough stars" by Creative Review.
Yulia's focus on non-typhographic graphic design Art has made its perfectionism and quality stand out. Her Art involves math and surgical practice. Her pieces have always evolved with her craft as she honed her folding skills.
I find motivation from the care of craft, and I can understand the care and thought choice of paper type, quality and colour when creating these works.
Project 5
This week we were assigned more technical problems, using recently learnt commands like explode to separate the surface edges of objects and lay them out on a 2d surface to cut and fold from printing. I didn't have time to make some objects, but I'll experiment and catch up from the busy week.
I've downloaded Rhino 7 so hopefully, that works.
My most recent idea in Rhino is a two-story house.
Project 6 Papercraft ideations
I chose a shipping container and train cart for my project, with the container and train cart, the design allows me to print several copies and link them up, and have a lot of freedom with the different colours of train carts, and even the graffiti designs on the containers. Let me bring up some photos for example.
If I were to keep pursuing this project, I could design the trucks, or even train engines, or container cranes that work with shipping containers.
This project is personally fun because I can pursue the colours of paper while having a good design in mind.
Because I'm working on Rhino 7, I'm trying to figure out where the commands are, adding surface to the objects is annoyingly slowing me down.
Getting closer to layouts for the different boxes, working on the half-sized containers now and the container carriers. very excited.
So far so good, now to print and see how these come together! I'm about to nap on my keyboard so I'll try that tomorrow morning.
The prints came out really small so I'm gonna try and up-scale the sizes.
Designs look much cleaner and ready for print.
After printing, and starting to cut, I sadly laughed as I realized I forgot the connecting glue flaps for the pieces, so going back in and re-printing. Sometimes you need to go through the steps one at a time. I also added connecting rails for each train cart to link.
The first Designs look pretty good! I'm gonna widen the train cart for the containers to fit more snugly in, But the wheels look great, and the total size is three inches in length, and half an inch wide. I could definitely add graffiti designs or some different types of containers, maybe the train engine as well.
This time around is about refining and crafting our ideas, i updated and created larger sizes for all of my shapes, and will be creating them in class to see how they hold up.
March 13th
After considering I'm not challenging myself enough, I'm gonna create moving parts for this train
With a gearbox to hold an axis connecting the wheels. This will allow the train to rotate its wheels and add more life to the object.
I'm in the process of the experiment. With the hollowing out of the gearbox for the axis. And re-sizing the entire train model a third time.
After final cuts from the laser printer, it went to folding and gluing, the choice of colours came together well, and the final look is clean. I could add as many copies to create a full train set. If i were to add touches, it would be to find a better way to make the wheels spin, as the idea did no work as well as planned.


Comments
Post a Comment